

Migrating Virtual Try-On Tools on Shopify
Migrate a Shopify virtual try-on app by listing every placement and event, moving consent and images, then comparing the same metrics before and after you switch.

Migrating virtual try-on on Shopify is a placement and measurement job, not a theme rewrite. List every surface that calls the old tool, including product templates, emails, and pixels, then move consent copy and product images with the new app. Run both on a duplicated theme until the same events fire, and compare try-on starts, errors, and add-to-cart on the same products. Leave the old script installed until that comparison is boring.
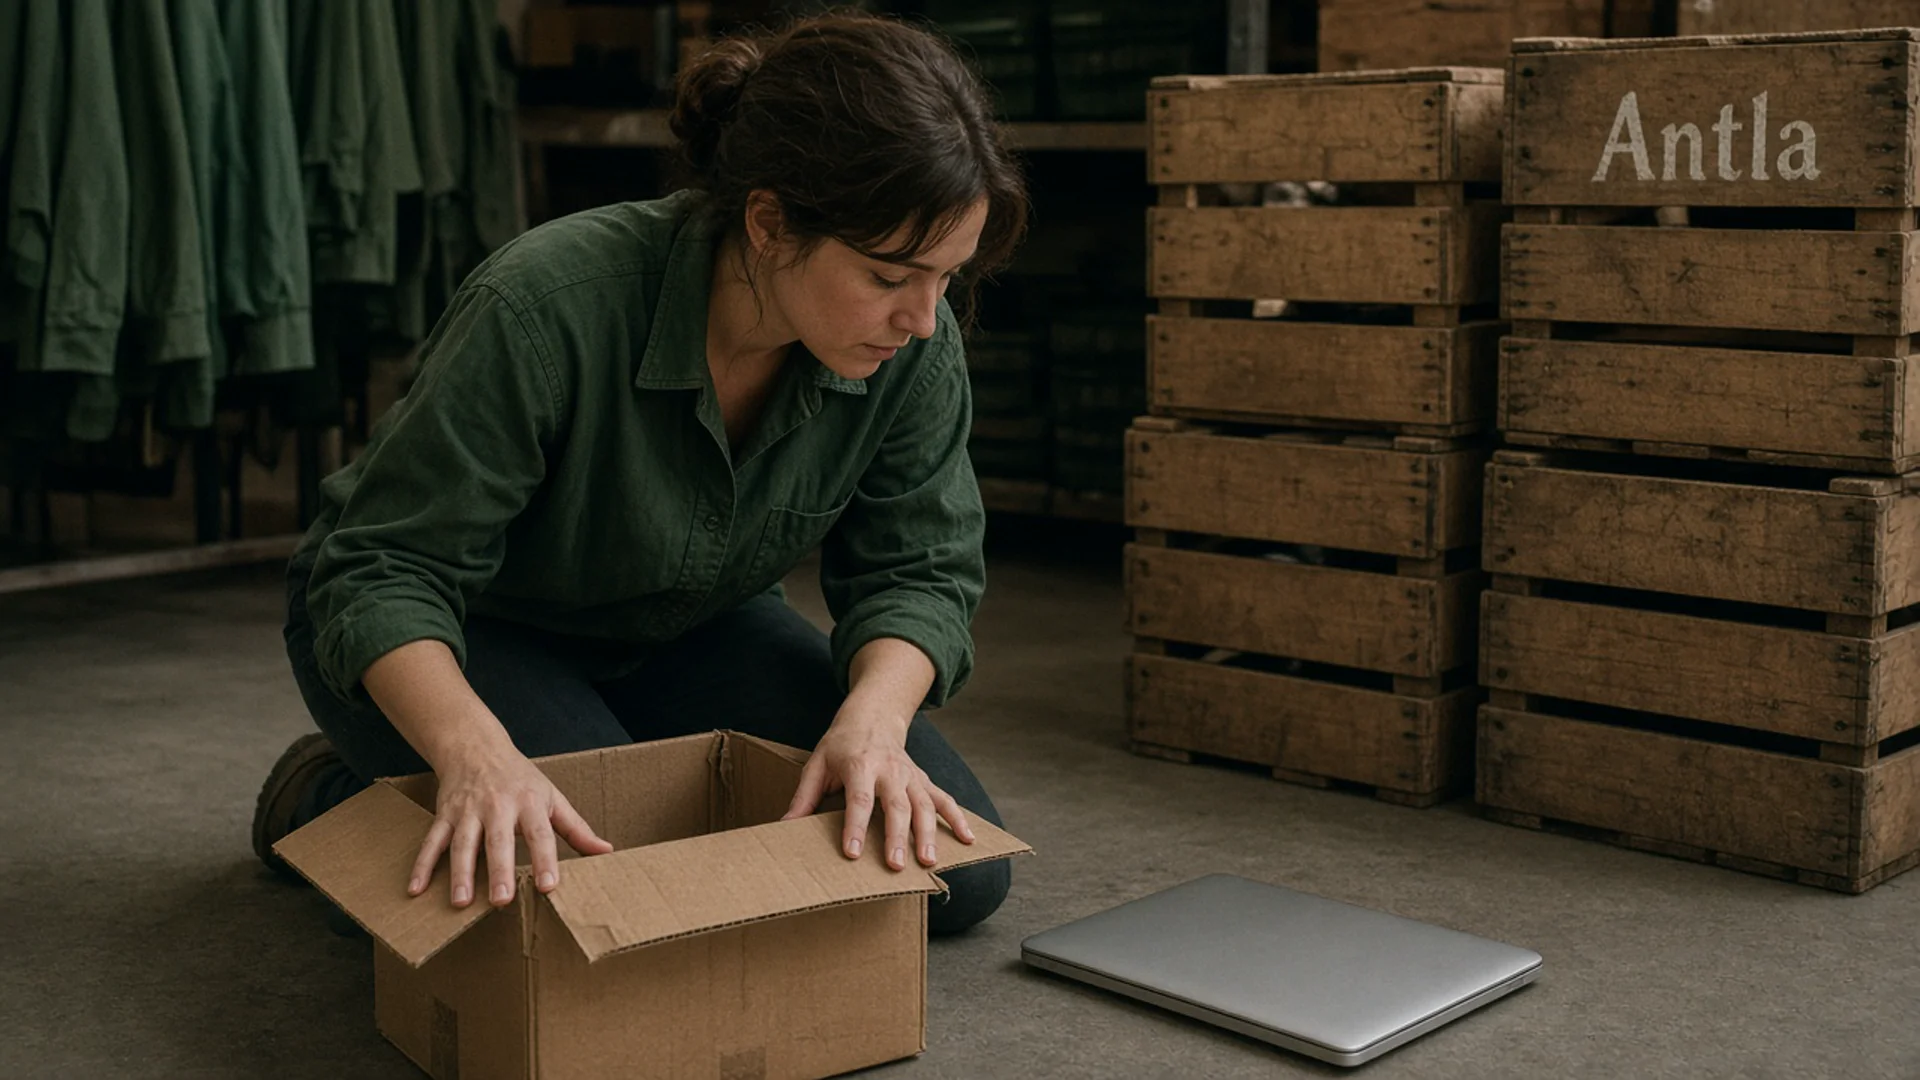
One box, a closed laptop, and crates from the last move. Editorial image in Classic Antla disposable-camera style.
The painful migrations I see are not the ones where Liquid breaks. They are the ones where the product page looks fine on the founder’s laptop, and a Klaviyo block, a second product template, and a pixel named after the old vendor keep calling a tool you already uninstalled.
Treat the switch like a store move. You do not throw out the fitting room and hope the new one appears in the same doorway. You walk the floor with a list.
Inventory placements and events
Start with a spreadsheet, not the theme editor. One row per place a shopper or a teammate can meet the old try-on. If you cannot name the row, you will find it in a support ticket two weeks after uninstall.
Walk these surfaces:
- Product templates. Online Store 2.0 themes can carry a different app block on each product template. Prestige-style themes and one-off drop templates are the usual surprise. The default product template being clean does not mean “Evening” and “Sale” are clean. Theme compatibility for virtual try-on is the checklist for that split.
- App embeds. Some tools load from a theme-wide embed even when the button sits in a section. Open the theme editor, App embeds, and write down every embed that mentions try-on, fitting, or the old vendor.
- Leftover code. A past developer may have pasted a script tag into
theme.liquidor a custom liquid section. Uninstalling the app does not delete that paste. Search the theme for the old vendor’s domain and for anyscriptyou do not recognize. - Emails and SMS. Flows that say “see it on you” often deep-link to the old modal or embed an image hosted on the old vendor. Those links 404 quietly.
- Pixels and tags. Custom pixels, Google Tag Manager, and Klaviyo onsite tracking may listen for the old event names. If you only swap the button, your dashboards go dark and everyone assumes try-on “stopped working.”
- Ads and landing pages. A Meta ad that promises a try-on and lands on a page where the block was never added is a migration bug, not a media bug.
Then inventory events, not just buttons. You want a before-column and an after-column with the same job, even if the names change.
| Job | What to record from the old tool | What “done” looks like |
|---|---|---|
| Shopper opened try-on | Event name, where it fires, which template | Same moment fires on the new tool |
| Upload succeeded or failed | Error reasons you actually see | Failures are visible, not swallowed |
| Preview finished | Success event, typical wait | Success and failure are separate events |
| Added to cart from the preview | Whether it is a normal product_added_to_cart or a vendor event | You can join it to the product id |
| Shared or emailed the image | If you use it in flows | The new tool’s event or a decision to drop the flow |
Shopify’s standard pixel events already include product_viewed and product_added_to_cart. Keep those. Add the try-on events beside them. Do not replace the platform events with a vendor’s private names and then wonder why Shopify reports and the app disagree.
If you are moving onto Antla, the storefront events are documented: antla_modal_open, antla_modal_close, antla_image_upload_success, antla_image_upload_error, antla_image_generated_success, antla_image_generated_error, plus cart, email, and social events. The list lives in the custom events docs. Map each old event to one of those, or write “we are dropping this” in the spreadsheet. A dropped event is fine. A silent one is not.
Plan asset and consent handling
The new app will generate from the product images you already have. That sounds like a non-task until the first image on a bestseller is a back shot, a flat-lay crop of a zipper, or a model turned away. Try-on needs a clear front. Antla lets you pick an alternate gallery image when the first file is a bad source, including in bulk. Do that in the plan, not after the first week of weird sleeves.
Walk ten hero products and write which file is the source. Note color variants. A dress with eight colorways and one usable front photo will preview seven colors as the first color. That is a merchandising bug you can see before launch. The no-code setup guide covers placement. The image choice is still yours.
Consent and photos do not migrate cleanly, and you should not pretend they do.
- Shopper photos. Assume the old vendor deletes customer data when you uninstall, because Shopify sends apps a
shop/redactwebhook 48 hours after uninstall so they can erase that store’s data. Confirm the old vendor’s privacy policy before you tell anyone their picture “comes with them.” It usually does not, and it should not, unless the shopper opts in again. Per Antla’s privacy policy: Images are deleted and not accessible within 72 hours. Quote the new vendor’s own sentence the same way. Do not copy this line onto a tool that does not publish it. - Your privacy policy. If the old tool was named in the policy, update the name, what you collect (a photo, an email if you ask for one), and the retention language you are willing to stand behind. Point the try-on terms link at that policy.
- The consent step. Antla can require shoppers to accept terms before generation, and the link should be your privacy policy. You can start processing while they read, or wait until they accept. Pick one and use the same sentence on every template.
- Emails you collected inside the old tool. Those addresses were collected under the old consent text. Do not pour them into a new “extra try-ons” flow without checking what they agreed to. Try-on data in Klaviyo and Postscript is about using events you actually have permission to use.
Assets to move on purpose: front product images, fit notes that sit beside the button, and any size-chart link the old modal duplicated. Assets to leave behind: the old vendor’s hosted JS, their CSS that fought your sticky header, and any “powered by” badge you only kept because it was hard to find.
QA theme rollout
Duplicate the theme. Do the entire dress rehearsal on the copy. Shopify’s theme editor is where app blocks and embeds are added. Publishing the duplicate is the last step, not the first.
I would rather you QA five products properly than fifty products by scrolling the homepage.
- A simple top with one color and a clean front photo.
- A variant-heavy product (color and size) where the gallery changes with the swatch.
- A product on a non-default template, if you have one.
- A sold-out size, so the button does not cover the sold-out state or the size selector.
- A product you know photographs badly: sheer, metallic, or a print that must match. If the preview invents a pocket, you want to see that before ads do.
On each one, use a phone. Mobile Safari and Chrome, not only the theme editor’s preview width. Open the modal, upload a photo, wait for the result, close it, and add to cart. Then decline the analytics cookie banner and repeat. A photo upload is not the same decision as analytics consent. If the button dies when consent is declined, you have a bug, not a smaller audience.
Staff can generate test previews in Antla Studio before customers see a product. Use it for the sheer and metallic SKUs. Studio is a merchant workspace. It is not a substitute for the theme QA above, because Studio will not show you a sticky header covering the close control.
If you have not installed a try-on app before, the sequence in how to add virtual try-on on Shopify is the forward path. Migration just adds the teardown of the old one. Keep the old app installed, with its embed disabled on the duplicate theme, until the new events have fired on a real product. Uninstall is the step that triggers deletion webhooks. Do it after you have exported any merchant-side reports you still need.
Compare before-and-after metrics
Pick the metrics before you flip the theme. Otherwise the new vendor’s dashboard becomes the score, and it will not match the old vendor’s dashboard, and you will spend a month arguing about definitions.
Use the same products, the same device split, and a window long enough to collect completions. A weekend is not a comparison if try-on volume is a few dozen starts.
| Field | What to fill in | Why it is here |
|---|---|---|
| Products | The five QA SKUs, then the hero list | Storewide conversion hides a broken template |
| Baseline window | 14 days before launch, no extra promo if you can help it | A sale in the middle is not a try-on result |
| Starts | Modal or button opens | Did people find it |
| Completions | Preview generated | Did the wait and the upload work |
| Errors | Upload errors plus generation errors | A pretty button with a 40% error rate is a regression |
| Add to cart | After a completion, same session if you can join it | The commercial point of the move |
| Downstream | Orders and size-related returns later | Carts without orders are a familiar trick |
An illustrative row is not a benchmark. If your baseline completion count is 30, do not call a winner. Extend the window.
Read conversion engine metrics for Shopify fashion when you want the wider set: view, cart, checkout, not a single app tile. Try-on is one input. If add-to-cart rises and checkout does not, the preview was interesting and the offer was not.
Two comparisons are honest. A holdout collection that stays on the old tool for two weeks is the clean one. A before-and-after on the same SKUs is acceptable when traffic source and promotions stayed flat. Write down the promotions. “We also launched a 20% off layer” is how a migration gets credit for a sale.
Antla’s merchant reporting can show try-on use against shoppers who did not try on, on the same stores. Use it as a diagnostic after the events match, not as the migration’s success criteria. The success criteria are the rows in your sheet.
Where a migration lies to you
A few patterns look like success and are not.
- The homepage looks faster because you removed a global embed and forgot three product templates. Those templates still 404 the old script, or they show nothing.
- Event volume dropped because the names changed and the pixel still listens for the old ones. The button is fine. The report is empty.
- You migrated images and not consent text. Shoppers upload into a policy that names a company you no longer pay.
- Headless or a custom storefront. An app block in the Online Store theme does nothing for a Hydrogen build until someone ports the embed. Say so in the spreadsheet if that channel exists.
- Shared try-on images in old campaigns. An ad still serving a picture hosted on the old CDN will rot. Replace the creative or accept the expiry.
Try-on shows how a piece may look. It does not measure a body or pick a size. Migration does not change that. Keep the size chart, the garment measurements, and the fit note next to the new button. If the old tool had talked you into hiding them, put them back.
What to do this week
Block two hours. Make the spreadsheet with one tab for placements and one tab for events. Duplicate the theme. Run the five-product QA on a phone. Do not uninstall the old app until the new success and error events have both fired on a product you intend to keep.
When the sheet has empty rows, those rows are the work. When the sheet is full and boring, publish the theme and start the comparison window. That is the whole migration.